
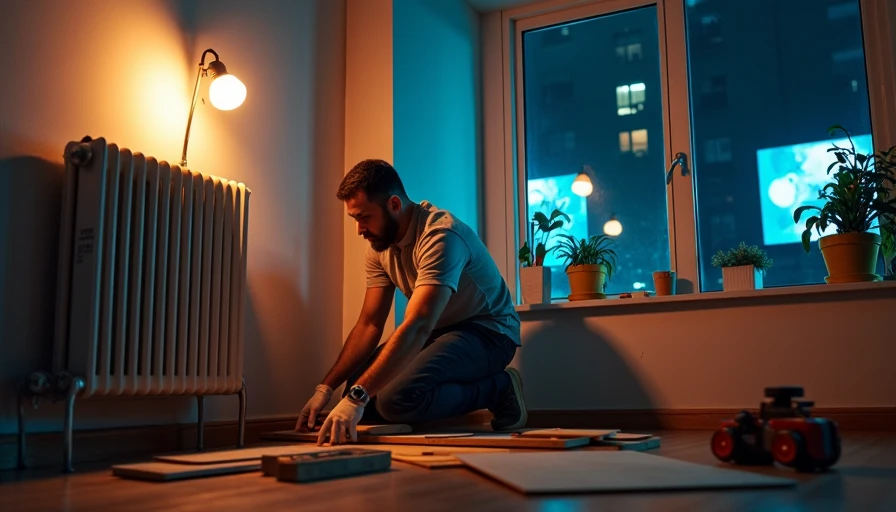
A DIY radiator cabinet can turn an awkward bathroom wall into useful, finished-looking storage, but it has to be designed around heat, airflow, and the reality of a tight floor plan. In a 5-by-7 bathroom, a radiator often occupies the only sensible spot for a towel rail or vanity. The answer is not to hide it inside a sealed box. The answer is to build a ventilated cover that gives the heater room to work while making the whole wall feel intentional.
I approach a DIY radiator cabinet like any other small-space decision: measure first, decide what the cabinet needs to do, and then remove every unnecessary inch. A cover that is 2 inches too deep can make a narrow walkway feel cramped. A cabinet that blocks the thermostat or traps heat can create a maintenance problem. Good design is the version that looks calm because the practical decisions happened before the paint went on.
Start with the radiator, not the Pinterest photo
Measure the radiator at its widest, tallest, and deepest points. Include valves, pipes, wall brackets, and the space needed to remove the front panel. Add at least 2 inches of clearance above the radiator and several inches in front, unless the manufacturer specifies a different distance. Hot water radiators and electric heaters do not have identical requirements, so identify the heating type before buying plywood or trim.
For a compact bathroom, a cabinet depth between 4 and 7 inches often works for a slim radiator. Do not assume the visible metal body is the full footprint. In older Los Angeles apartments, pipes can project farther than the radiator itself, and a cabinet that ignores them will look like an accidental bump-out. Sketch the front and side views on graph paper. Mark the door swing, shower edge, toilet projection, and the minimum walking path before choosing a style.
The front should be open enough for warm air to rise. Slatted wood, perforated metal, or a decorative grille all work better than a solid panel with a few token holes. I prefer a continuous grille at the bottom and a second opening near the top because that creates a clear path for convection. Leave the valves accessible; removing an entire cabinet to adjust heat is poor planning.
Materials that survive bathroom humidity
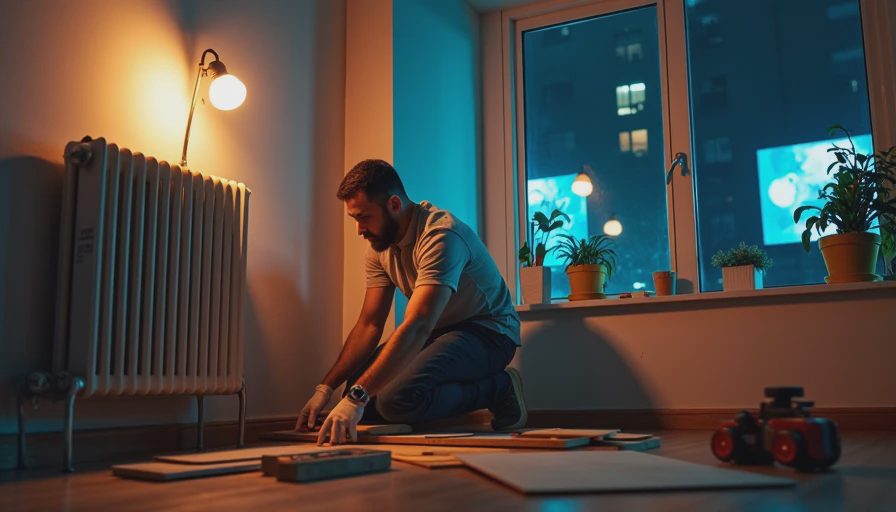
A bathroom is a demanding environment for a DIY radiator cabinet. Steam, splashes, cleaning products, and temperature changes punish cheap materials. Moisture-resistant MDF is easy to paint and gives a smooth modern finish, but it needs sealed edges. Baltic birch plywood offers a warmer, layered look and handles screws well. Avoid untreated particleboard, especially near a toilet or shower, because swollen edges are difficult to repair discreetly.
For the grille, powder-coated steel is durable and visually crisp. Cane can look beautiful in a dry powder room, but I would not use it directly beside an open shower. Oak or maple slats bring warmth, though each piece needs paint or a properly cured water-based finish. Use construction adhesive sparingly and mechanical fasteners where the panel may need to come off later.
A useful material list includes a 1/2-inch sheet of plywood or moisture-resistant MDF, 1-by-2-inch poplar for the frame, a removable grille, wood screws, primer, enamel paint, and small magnetic catches. Expect roughly $100 to $250 for a straightforward cover, depending on the grille and finish. A custom millwork shop can cost several times that amount, which is why a carefully measured DIY radiator cabinet is worthwhile when the geometry is simple.
Build the box as a removable screen
The best DIY radiator cabinet is not permanently trapped against the wall. Build a lightweight front frame and separate side returns so the assembly can be lifted away for painting, radiator service, or a leak inspection. A 1-by-2 frame is usually enough for a small cover. Add a narrow top ledge only if it does not reduce ventilation or invite bottles to collect above a heat source.
Cut the grille opening before assembly. A jigsaw with a fine blade works for plywood, while a router gives MDF a cleaner recessed edge. Sand every cut, prime the exposed material, and test-fit the frame around the radiator before applying the final coat. If the cover rocks, correct the wall or floor contact instead of forcing the cabinet square; old buildings rarely offer perfectly level surfaces.
Install the cabinet with hidden screws through the side returns or use sturdy brackets that can be released with a screwdriver. Magnetic catches are convenient for a lightweight front panel, but they should not be the only support for a heavy wood grille. Label the fasteners in a small envelope taped inside the vanity or linen closet. That tiny step saves an annoying search six months later.
Make it earn its footprint
In a small bathroom, the cover should solve more than an unattractive radiator. A 5-inch-deep top can hold a soap dispenser, a framed print, or folded hand towels, although I would avoid storing aerosols, candles, or heat-sensitive cosmetics there. If the radiator sits beside the vanity, extend the cabinet top to align with the vanity edge. That visual line makes two separate objects read as one composed installation.
A narrow rail on the side can hold one hand towel, but do not turn the heater into a crowded storage tower. Towels need airflow to dry, and fabric pressed against a hot radiator can discolor or become a fire concern with some heater types. For a rental, use a freestanding screen with adjustable feet rather than drilling into tile. For a condo remodel, a shallow built-in can look more architectural, provided the front remains removable.

Finish, color, and the small-room effect
Paint the cabinet the same color as the wall when you want the radiator to disappear. This works particularly well with warm white, pale clay, or a soft gray-green. Matching the trim gives the cover a built-in quality without making it visually heavy. If the bathroom already has wood accents, a clear-finished plywood grille can be attractive, but repeat that wood tone at least once elsewhere, such as in a mirror frame or shelf.
High-gloss paint can reflect light, but it also highlights uneven joints. Satin enamel is a forgiving choice for most bathroom cabinets because it wipes clean without looking overly shiny. Use a bonding primer on previously painted surfaces and allow the finish to cure fully before returning the panel to a warm radiator. The goal is a durable surface, not a rushed weekend reveal.
Skip ornate fretwork if the room is under 40 square feet. It creates visual noise and collects dust. Simple vertical slats, a rectangular metal grille, or a perforated panel will age better. The cleanest DIY radiator cabinet usually has one strong proportion: a grille aligned with the vanity, a top matching the sill, or a frame that repeats the room's door trim.
A practical installation checklist
Before cutting, confirm the radiator type and manufacturer clearance guidance. Measure the widest projection, including valves and pipes. Mark the cabinet outline with painter's tape and walk through the room with the bathroom door open. Check that the toilet lid, vanity drawer, and shower door still operate without collision.
During construction, keep the grille opening generous, seal every exposed edge, and leave access to the shutoff valve and thermostat. Test the heater with the cabinet temporarily positioned but not fully fastened. Watch for unusual smells, rattling, or excessive heat on the panel. If you are covering an electric baseboard heater or anything with electrical connections, follow its listed clearances and use an electrician when the installation is outside your skill level.
A well-planned DIY radiator cabinet should make the room feel less crowded, not simply hide a piece of equipment. Spend the extra time on the side profile, ventilation, and removable access. In a small bathroom, those unglamorous details are what separate a polished built-in from a box that looks like an afterthought. The finished cover can be inexpensive, but the proportions should look deliberate.