
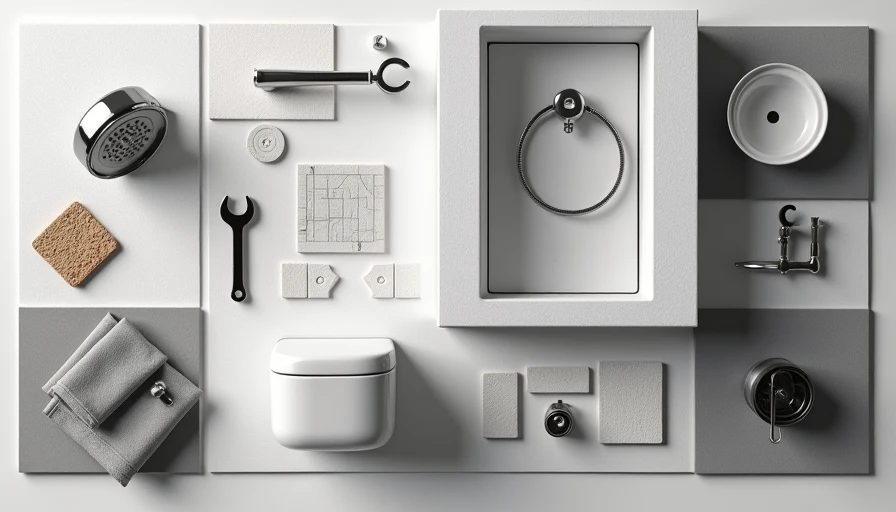
A shower remodel can completely change a small bathroom, but only if the design starts with dimensions rather than tile samples. In a 5-by-7 bathroom, moving a drain or choosing the wrong door swing can cost more usable space than an expensive finish can recover. The best rooms feel calm because every inch has a job.
I have designed compact bathrooms where the biggest improvement came from shifting a shower wall by 6 inches, and others where a new light fixture and a cleaner grout color did most of the work. You do not always need a full gut renovation. You need a clear plan for circulation, storage, water, and visual weight.
Start with the footprint, not the finishes
Before a shower remodel begins, measure the room at floor level, countertop level, and ceiling height. Older homes are rarely perfectly square, and a wall that looks straight can vary by an inch from one end to the other. Mark the toilet, vanity, door swing, and heating vent on graph paper. A minimum shower footprint is often around 30 by 30 inches, but 36 by 36 inches feels substantially more comfortable for daily use.
For a narrow 5-by-7 bathroom, I usually look first at a 36-by-60-inch alcove shower. It uses the existing room width efficiently and leaves a predictable zone for the toilet and vanity. If the current tub is rarely used, replacing it with a shower can open the room visually, though the choice affects resale expectations in homes with only one bathroom. A fixed glass panel can make the floor read as one continuous plane, while a hinged door needs enough clearance to avoid striking the vanity.
A corner shower can work in a very tight room, but diagonal doors often create awkward leftover triangles. Those areas become dust traps instead of useful space. When possible, a simple rectangular enclosure is easier to clean, easier to furnish, and more generous at shoulder height.
Choose the enclosure strategically
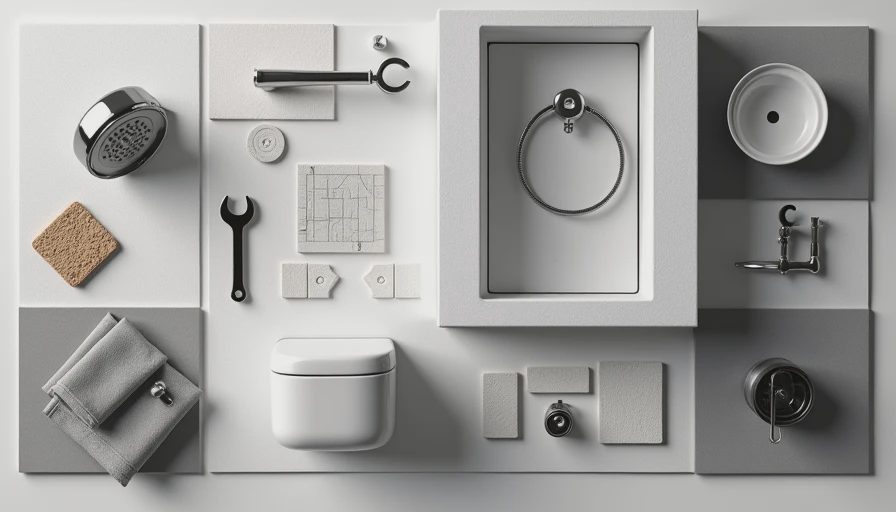
Glass is not automatically the right answer for every shower remodel. Clear glass gives a small bathroom the most open appearance, but it shows water spots and requires regular wiping. Low-iron glass has a cleaner, less green edge and looks excellent next to white tile, although it costs more. For a budget-conscious project, standard tempered clear glass is usually the practical choice.
A frameless enclosure can look refined, yet it requires walls that are flat, solid, and properly waterproofed. Semi-frameless doors often deliver a similar visual effect for less money. Brands such as Kohler, Delta, Moen, and American Standard offer coordinated shower systems in several price tiers, so the trim can feel intentional without turning the whole bathroom into a luxury purchase.
For renters or owners avoiding major plumbing work, a shower remodel might mean replacing the curtain, rod, showerhead, and storage instead of rebuilding the enclosure. A curved tension rod adds a few inches of elbow room, while a fabric curtain in a quiet stripe can soften a hard tile box. Do not use a bulky fabric valance or an oversized decorative rod; both make the ceiling feel lower.
Tile patterns that add space
The most successful small shower remodels use tile to establish proportion. Large-format porcelain, such as 12-by-24-inch tile, creates fewer grout lines and a calmer surface. It still needs a properly sloped substrate and an installer who understands how to manage lippage. If the walls are uneven, smaller 4-by-4 or 4-by-8-inch tile may hide imperfections more gracefully.
Vertical stack tile can emphasize ceiling height, especially when the shower ceiling is 8 feet or lower. A horizontal running bond can make a narrow wall feel wider, but a strong offset pattern may look busy in a small enclosure. I often prefer a straight stack in warm white, pale gray, or muted green, paired with a slightly darker floor. The contrast gives the eye a boundary without chopping the room into fragments.
Avoid using several competing tile shapes in a small space. A hex floor, patterned wall, mosaic niche, and decorative border can each look appealing in a showroom and overwhelming at home. Choose one feature, then let the plumbing finish and lighting provide detail.
Storage should be planned before waterproofing
Storage is where many shower remodel projects go wrong. A pretty niche added at the end may land behind the showerhead, collide with a stud, or be too shallow for full-size bottles. Decide what needs to live inside the shower before the walls are closed. Measure the tallest bottle and allow room to lift it from the shelf without scraping your knuckles.
A recessed niche around 12 inches high and 24 inches wide can hold daily products for two people, but a pair of smaller niches may work better when studs limit the layout. Use a solid shelf with a slight slope toward the shower, and keep the bottom edge high enough to avoid constant splash from the floor. If the wall cannot accommodate a niche, a slim stainless steel corner shelf is more useful than a decorative ladder that reduces elbow space.
Outside the enclosure, a mirrored medicine cabinet can provide 4 to 6 inches of hidden storage without consuming floor area. Recessed models from Kohler, Robern, or IKEA-style surface-mounted cabinets can suit different budgets. The goal is to keep counters clear, because visible clutter makes a small bathroom feel smaller than its actual dimensions.

Spend the budget where it protects the room
A typical shower remodel can range from roughly $8,000 for a straightforward replacement with midrange materials to $20,000 or more when plumbing moves, walls open, and custom glass or stone enters the plan. Labor, waterproofing, demolition, and permits often matter more than the tile price. Spending $2,000 on handmade tile will not compensate for a failed shower pan.
Prioritize the waterproofing system, correctly sloped floor, quality valve, and professional installation. Products from Schluter and Wedi are common examples of shower waterproofing systems, but the installer must follow the selected system's details rather than mixing instructions casually. A thermostatic valve can improve comfort and temperature control, while a handheld wand on a slide bar adds flexibility for cleaning and accessibility.
Save money on secondary surfaces. A porcelain slab-look tile can create the feel of stone without the maintenance and price of natural marble. Standard-size tile may also reduce installation waste. Keep the plumbing in its current location when the layout already works; relocating a drain or valve can add several thousand dollars before finishes are selected.
Lighting and hardware finish the design
A shower remodel needs more than one ceiling fixture. Recessed wet-location lighting inside the shower should be paired with a vanity light that illuminates the face from both sides or across the mirror. A single light above the mirror creates shadows under the eyes and makes the room less functional. Choose a color temperature around 2700K to 3000K for a warm, residential feel, and confirm that fixtures are rated for damp or wet locations as required.
Use one dominant metal finish throughout the room unless there is a deliberate reason to mix. Matte black can sharpen pale tile but shows mineral residue quickly. Brushed nickel is forgiving and works with both cool and warm surfaces. Polished chrome remains one of the best value choices because it reflects light and is widely available across brands.
For a final shower remodel check, stand inside the enclosure and test the door swing, valve reach, niche height, towel location, and cleaning path. If two people cannot pass comfortably outside the shower, adjust the vanity depth before ordering glass. A 21-inch-deep vanity can recover meaningful circulation compared with a standard 24-inch model.
The strongest small bathrooms are not packed with expensive ideas. They are edited. Measure first, protect the waterproofing budget, choose a restrained tile plan, and make storage part of the architecture. Done that way, a shower remodel can make a 35-square-foot room feel deliberate, brighter, and much easier to live with every morning.