

If you are wondering how do you install tile in a shower, start with the part nobody sees: waterproofing. Pretty tile cannot compensate for a leaking shower wall, soft subfloor, or mold growing behind cement board. In a compact bathroom, the process is especially unforgiving because every inch affects the curb, door, plumbing fixtures, and visual balance. The good news is that a careful DIYer can produce a professional-looking result without buying luxury materials or demolishing the entire room.
Plan the shower before buying tile
Measure each wall at the bottom, middle, and top. Older homes rarely have perfectly straight walls, and a difference of even 1/2 inch can change your cuts. Record the shower height, width, niche location, valve position, curb depth, and drain location. For a standard 60-inch tub alcove, a 3-by-6-inch subway tile or 4-by-12-inch tile usually creates a calm, proportional grid. Large 12-by-24-inch tiles can work, but they require flatter walls and more precise cuts around plumbing.
Calculate square footage by multiplying wall width by height, then add 10 to 15 percent for cuts and breakage. A small three-wall shower might need only 65 to 80 square feet of tile, but ordering one extra carton is cheaper than stopping mid-project. Choose a grout color close to the tile if you want the walls to recede. A contrasting grout highlights every line and can make a narrow shower feel visually busy.
Decide where full tiles will land before setting anything. In a 36-inch-wide shower, centering a 3-inch tile may leave equal 1 1/2-inch cuts at both corners, which looks intentional. Starting from one corner can leave a skinny sliver that makes the whole installation feel accidental.

How do you install tile in a shower safely?
The answer begins with a complete shower waterproofing system, not ordinary drywall. Remove the existing wall surface down to sound framing, inspect for rot, and correct any plumbing leaks. Install a compatible backer system according to its manufacturer’s instructions. Common options include cement backer board with a liquid membrane such as RedGard, or a foam panel system such as Schluter Kerdi-Board or Wedi.
The seams, corners, fasteners, and changes of plane must be sealed with the products designed for that system. Do not assume that cement board itself is waterproof; it resists water but can still allow moisture through. At the floor, create a properly sloped shower pan or use a prefabricated pan. Water should move toward the drain rather than sit against the wall.
This is the stage where a small mistake becomes an expensive repair. If the framing is badly damaged, the drain needs relocation, or the shower pan has no reliable waterproofing plan, hire a tile contractor for that portion. You can still handle tile selection, layout, and finishing work yourself.
Gather tools and prepare the surface
You will need a notched trowel sized for your tile, a margin trowel, tile spacers, a level, measuring tape, chalk line, utility knife, drill, mixing paddle, buckets, and a grout float. A wet saw is the cleanest choice for porcelain and stone. Home improvement stores often rent one for roughly $50 to $100 per day, while a basic manual cutter may cost $40 to $150 and work well for straight ceramic cuts.
The surface must be flat, solid, clean, and fully cured. Check it with a long level or straightedge. If you can slide a pencil under the straightedge, correct the low area before tiling. Vacuum dust from the backer board and wipe away residue. Dry-fit the first two rows, including corner cuts, before mixing thinset mortar. This simple rehearsal exposes problems around the valve and niche while you can still adjust the layout.
When considering how do you install tile in a shower, remember that the first row is rarely the place to begin. Use a perfectly level ledger board to support the second row, leaving the bottom row to be cut after the floor or pan is finished. That approach hides minor floor variation and gives the most visible wall area a clean, level starting line.
Set tile in a controlled sequence
Mix polymer-modified or unmodified thinset only as the product instructions specify. Spread enough for about 10 to 15 minutes of work, then comb it with the notched edge in one direction. Press each tile into place with a slight back-and-forth movement. Periodically remove a tile to check coverage. Shower walls need strong contact, especially behind larger porcelain pieces, but excess mortar should not squeeze through every joint.
Use spacers consistently and check level after each row. In a small shower, a 1/16-inch shift repeated across six rows becomes obvious at the ceiling. Wipe mortar from the tile face and joints while it is fresh. Cut openings for the shower valve and arm with a diamond hole saw or an angle grinder fitted for tile. The trim plate should cover the opening, but do not create a huge gap and expect the escutcheon to hide poor work.
Work from the back wall outward if the shower has a prominent side wall. That puts the cut edges in less noticeable corners. For a niche, wrap the waterproofed opening with tile and give the sill a slight pitch toward the shower so water cannot collect inside it.
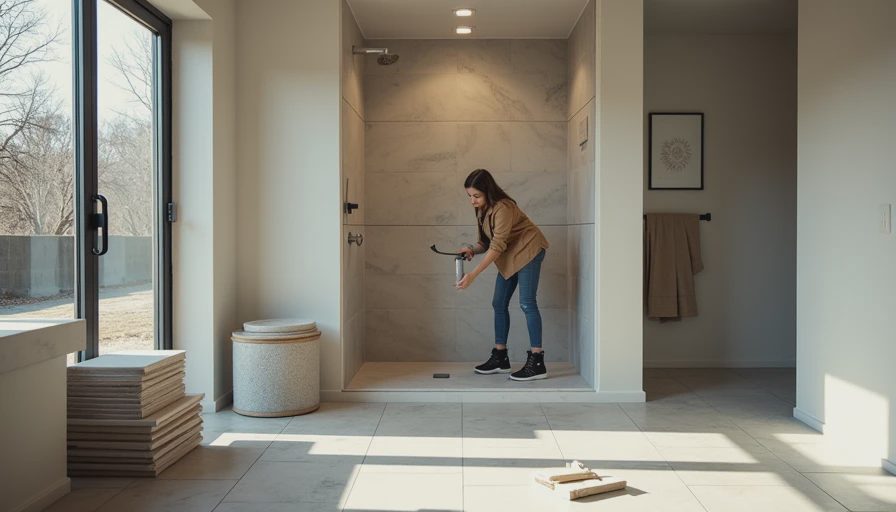
Grout, caulk, and finish the details
Allow the thinset to cure for the time listed on the package before grouting. Cementitious grout is affordable and available in nearly every color, but it requires proper mixing and may need sealing. Premixed acrylic or urethane grout costs more, often $60 to $100 for a large project, but can simplify cleanup and color consistency. Follow the manufacturer’s recommendations rather than mixing products from different systems.
Force grout diagonally across the joints with a float, then remove excess with a barely damp sponge. Change the rinse water frequently; cloudy water can leave a film on textured porcelain. After the grout firms up, polish haze from the surface with a dry microfiber cloth.
Do not grout inside corners, along the tub edge, around the shower pan, or where tile meets a different material. Those joints need a flexible 100 percent silicone sealant. Matching silicone is available from brands such as Custom Building Products and Schluter, and it helps absorb small movements that would crack rigid grout. Replace deteriorated silicone rather than applying a new bead over old material.
How do you install tile in a shower without overspending?
For a compact shower, a realistic DIY material budget is about $700 to $1,800, depending on waterproofing, tile, fixtures, and tools. A budget ceramic tile might cost $2 to $5 per square foot, while porcelain commonly ranges from $4 to $12. Add roughly $150 to $500 for mortar, grout, membrane, backer materials, trim, blades, and rental tools. A contractor-led installation can run several thousand dollars because demolition, plumbing, waterproofing, and labor often cost more than the tile itself.
Spend money on waterproofing and the wet saw before upgrading from a $4 tile to a $14 tile. In a 5-by-7 bathroom, a restrained palette usually has more impact than an elaborate pattern: one wall tile, one floor tile, and a thin metal or ceramic edge are enough. If you want a design moment, put a small-format accent inside the niche instead of covering every wall in expensive mosaic.
The most useful answer to how do you install tile in a shower is to slow down at the hidden layers, establish a level layout, and treat every transition as a water-management detail. If you plan carefully, a modest shower can feel tailored rather than builder-basic, and the finish will look intentional long after the first steamy morning.