

A 100 square foot bathroom gives you more freedom than a tiny powder room, but it is still small enough that one awkward door swing or oversized vanity can ruin the plan. The best 100 square foot bathroom designs start with dimensions, not a shopping list. After designing more than 80 compact bathrooms, I have learned that the difference between cramped and calm often comes down to six inches.
This size can accommodate a comfortable three-quarter bath, a generous full bath, or even a compact primary bathroom with a separate shower and tub. The challenge is deciding what deserves the floor area. Before choosing tile colors or brass finishes, draw the room at scale, mark the plumbing locations, and protect a clear path from the entrance to every fixture.
Start With the Layout, Not the Vanity
A typical 100 square foot bathroom might measure 8 by 12 feet, 10 by 10 feet, or something less predictable, such as 7 feet 6 inches by 13 feet 4 inches. Those proportions matter more than the total number. A long room often benefits from fixtures arranged along one wall, while a nearly square room can support a central circulation zone with fixtures on opposing sides.
For a full bathroom, allow roughly 30 to 36 inches of clear space in front of the toilet and at least 21 inches in front of a vanity. A 60-inch alcove tub is a practical default because it is widely available and relatively economical to replace. If you do not need a tub, a 36-by-60-inch shower creates a more open daily experience and gives you room for a built-in niche.
The door deserves special attention. A pocket door can recover valuable swing space, but it requires a suitable wall and careful installation. If that is not possible, reverse the hinge or use an outswing door where local code and the building allow it. In a 100 square foot bathroom, gaining even 8 square feet of usable floor can change the entire feeling.

Choose Fixtures That Respect the Room
The most common mistake I see in a 100 square foot bathroom is choosing fixtures individually instead of as a group. A 48-inch vanity may look modest in a showroom, yet it can dominate a narrow room when paired with a freestanding tub and a deep linen cabinet. Measure the complete projection, including countertop overhangs, drawer pulls, and plumbing access.
Wall-mounted vanities from brands such as Duravit or Kohler can make the floor appear larger because the tile continues beneath them. They also simplify cleaning. A floating vanity does not create storage by itself, so pair it with drawers, a mirrored medicine cabinet, or a slim tower no deeper than 10 to 12 inches.
For budget-conscious projects, a 30- or 36-inch vanity with a white ceramic top is often a better decision than a larger custom cabinet. IKEA Godmorgon cabinets, Semihandmade fronts, and ready-to-assemble lines from Home Depot can provide a tailored look without consuming the renovation budget. Spend more on the faucet and lighting if those are the elements you touch and see every day.
A wall-hung toilet is another option when you are renovating extensively. It can save visual space and makes mopping easier, but the concealed carrier increases labor and complicates future access. In most remodels, a compact floor-mounted toilet is the sensible choice.
Make Storage Feel Architectural
Storage should be planned before the walls are closed. In a 100 square foot bathroom, recessed storage is especially useful because it adds capacity without reducing the walkway. A medicine cabinet from Robern, Kohler, or IKEA can replace a flat mirror while keeping daily items at eye level. Choose a cabinet at least 4 inches deep if you want room for taller bottles.
Use the dead space above the toilet carefully. A shallow cabinet or two open shelves can hold towels and backup supplies, but avoid turning this area into a crowded display. The eye needs a quiet surface. I prefer one closed cabinet for visual clutter and one open shelf for a folded towel or a small ceramic vessel.
Inside the shower, a niche should be sized around the products you actually use. A single 12-by-24-inch niche is usually more useful than several tiny compartments. Include a slight slope toward the shower so water does not sit on the shelf, and line it with the same tile as the floor for a continuous appearance.
Use Tile to Stretch the Perimeter
Tile scale can either clarify the room or make it feel busy. Large-format porcelain, such as 24-by-48-inch panels or 12-by-24-inch tiles, reduces grout lines and creates longer visual planes. That does not mean every surface needs oversized tile. A small hex mosaic can be excellent on a shower floor because its grout improves traction, while a calmer rectangular tile belongs on the walls.
For a 100 square foot bathroom, I often use one main tile and one accent material rather than three competing patterns. A warm white zellige-style tile, pale limestone-look porcelain, or soft gray terrazzo can provide texture without visual noise. If you want color, place it on the vanity wall or inside the niche instead of wrapping the entire room in a dramatic pattern.
Run wall tile to the ceiling in the shower and, when the budget allows, behind the vanity. The vertical finish makes the room feel taller and protects the most vulnerable walls. Keep transitions aligned with corners and plumbing centers; sloppy tile layout is noticeable in a small room because there is nowhere for the eye to rest.
Layer Light for a Better Morning
One ceiling fixture is not enough for a 100 square foot bathroom. It creates shadows under the eyes and chin, which is exactly where you do not want them. Use a ceiling fixture for general illumination, sconces or a lighted mirror for the face, and a dimmable accent source for evening use.
Place vanity sconces around 60 to 66 inches above the finished floor, adjusting for the height of the people using the room. A pair mounted beside the mirror usually produces more flattering light than a single fixture above it. Look for a color temperature around 2700K to 3000K and a high color-rendering rating, especially if the bathroom has limited daylight.
If there is a window, use privacy glass or a woven shade instead of blocking it with a tall cabinet. Natural light is free square footage for the eye. A clear glass shower enclosure can carry that light farther than a fabric curtain, although a curtain is cheaper and easier to replace.
Budget the Remodel Without Making It Bland
A cosmetic refresh can cost roughly $3,000 to $8,000 when the plumbing stays in place and you handle painting or accessory installation yourself. A midrange renovation with new tile, fixtures, lighting, and professional labor commonly lands around $12,000 to $25,000. Moving drains, opening walls, or correcting water damage pushes the number higher.
The smartest savings usually come from preserving the layout. Moving a toilet or shower drain can trigger demolition, new supply lines, patching, and permit-related labor. Keep the plumbing where it is and spend the difference on waterproofing, a quality exhaust fan, and durable tile installation. A fan with a humidity sensor is a quiet upgrade that helps protect paint, grout, and cabinetry.
You can also mix price points deliberately. Pair a $250 vanity with a $400 faucet, use stock tile with a custom-looking grout color, or select an affordable mirror and invest in well-designed sconces. A 100 square foot bathroom does not need expensive finishes everywhere; it needs a few decisions that look intentional.
The Final Design Test
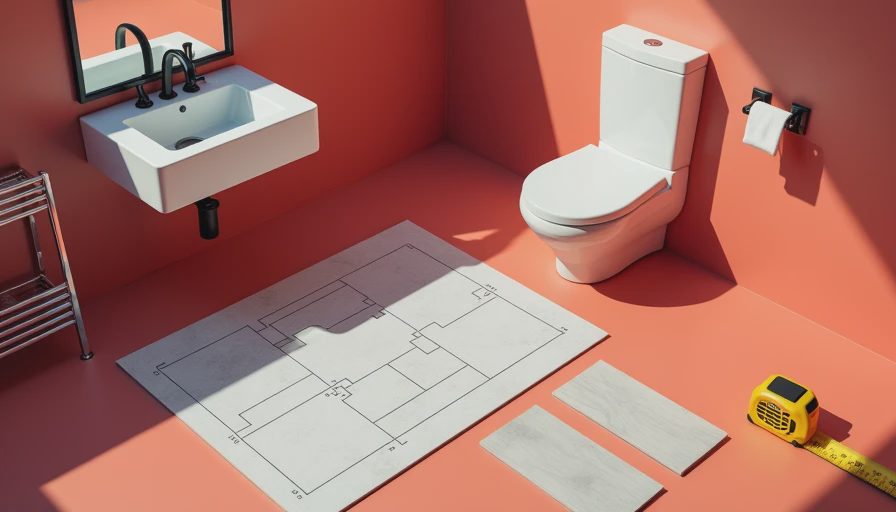
Before ordering anything, tape the fixture footprints onto the floor with blue painter's tape. Stand inside the proposed shower, open the vanity drawers, and walk through the door carrying a laundry basket. This quick test exposes conflicts that a plan may hide, including a towel bar behind the door or a drawer that hits the toilet.
Then check the practical details: outlet locations, GFCI protection, exhaust ventilation, shower valve height, towel storage, and a place for toilet paper that is reachable without twisting. Confirm dimensions from the manufacturer's installation sheet rather than relying on a retailer's headline measurement.
A successful 100 square foot bathroom feels generous because the layout is disciplined. Give each fixture enough breathing room, keep materials edited, and let storage disappear into the architecture. You do not need a luxury budget or a full gut renovation to make the room feel considered. You need a measured plan, a few strong materials, and the confidence to leave out anything that does not earn its place.